Step-by-Step Guide to Creating Videos with Animoto
Discover how to create professional-quality videos effortlessly with Animoto. This step-by-step guide walks you through choosing templates, adding media, customizing designs, and sharing your videos to boost engagement on social media and beyond.
Video has become the king of online content. Whether you’re running a business, building a personal brand, or simply want to share memories, videos grab attention like no other format. But let’s face it—traditional video editing can be time-consuming and complex. That’s where Animoto comes in. This cloud-based tool allows anyone, even without editing experience, to create professional-looking videos in minutes.
What is Animoto?
Animoto is a drag-and-drop video maker designed for businesses, educators, marketers, and individuals. With its simple interface and pre-built templates, you can transform your photos, clips, and text into engaging videos with minimal effort.
Tips for Creating Engaging Videos with Animoto
Keep your videos short—30 to 60 seconds works best for social media.
Use bold fonts and colors that match your brand identity.
Always include a call-to-action (CTA), like “Shop Now” or “Subscribe.”
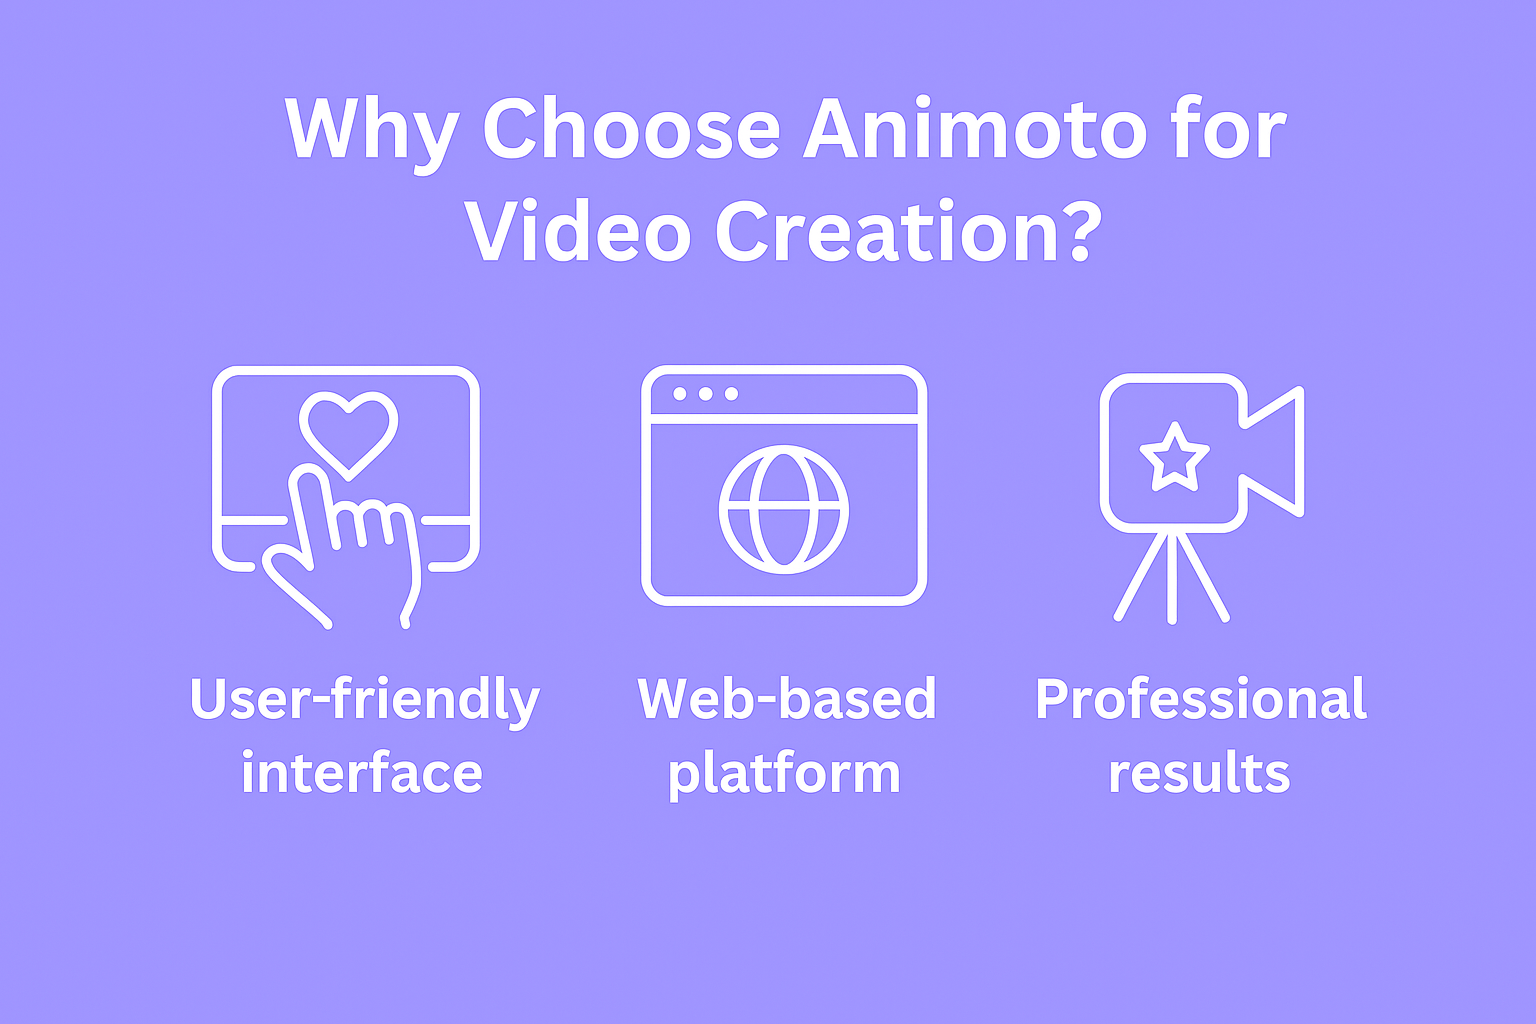
Why Choose Animoto for Video Creation?
User-friendly interface: No prior editing knowledge required.
Web-based platform: No need to install heavy software.
Professional results: Ready-to-use templates give your videos a polished finish.
Getting Started with Animoto
First things first—sign up for a free Animoto account. Once you log in, you’ll find a dashboard with quick access to templates, your projects, and editing options.
Step 1: Choosing the Right Template
Animoto offers a wide range of templates such as product promotions, social media ads, and personal slideshows. Select one that matches your goal. For example, if you’re making an Instagram reel, pick a vertical template for best engagement.
Step 2: Uploading Your Media
You can drag and drop your photos or videos directly into Animoto. It supports common file types like JPG, PNG, MP4, and MOV. If you don’t have your own media, Animoto’s stock library has thousands of professional options.
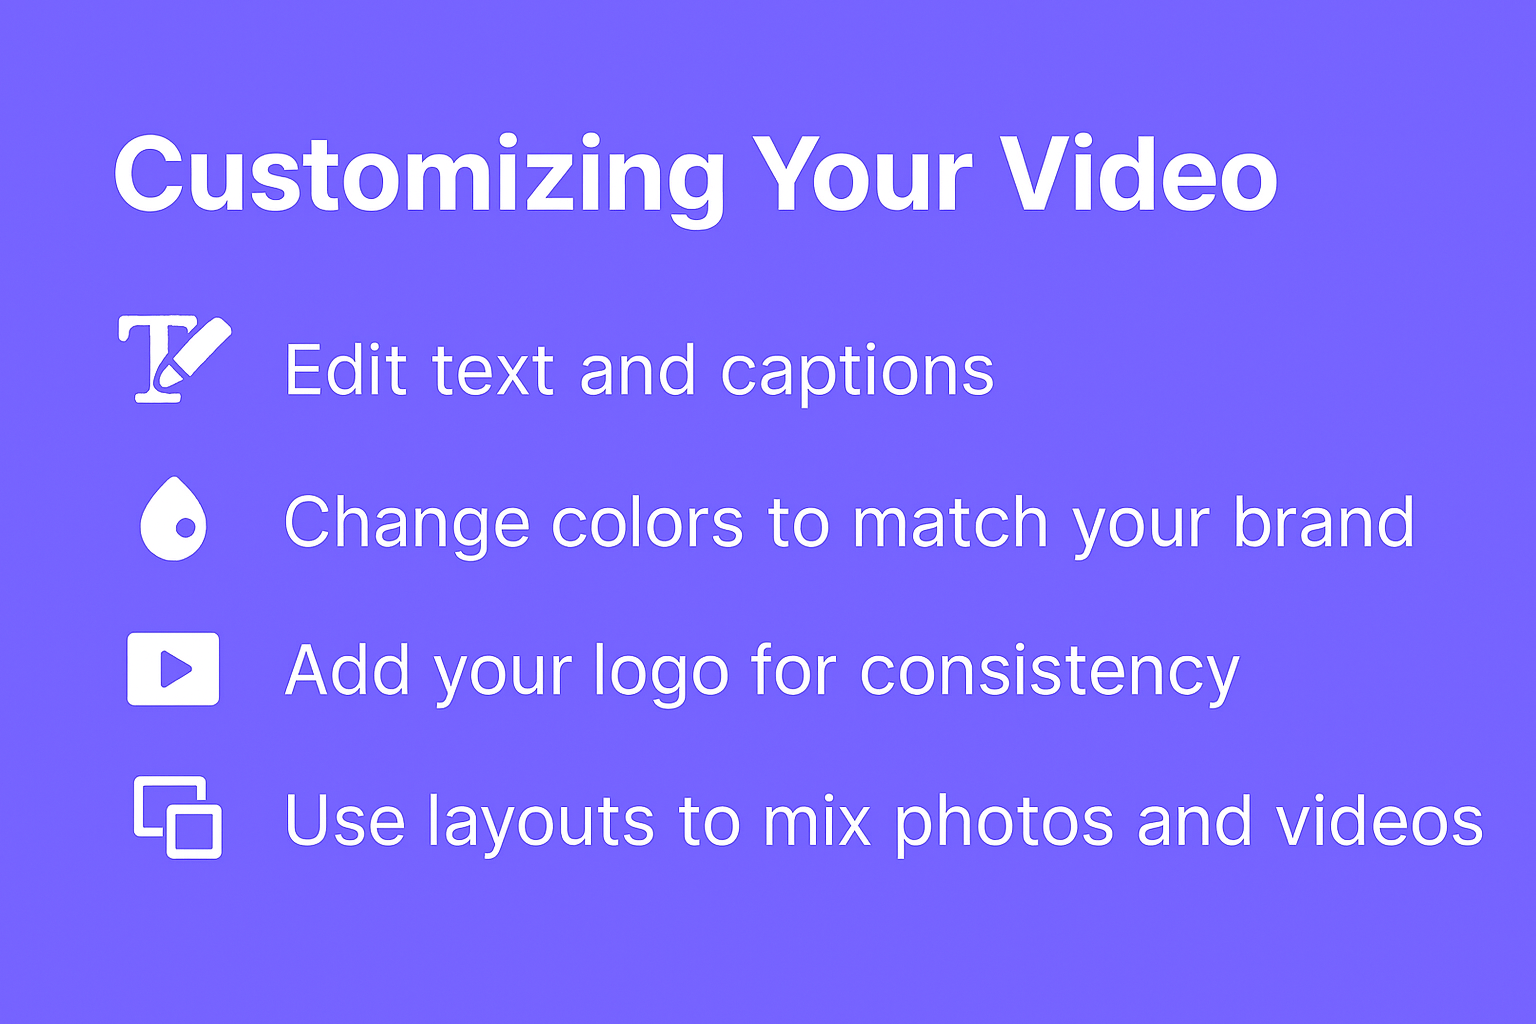
Step 3: Customizing Your Video
This is where the fun begins. You can:
Edit text and captions
Change colors to match your brand
Add your logo for consistency
Use layouts to mix photos and videos
Step 4: Adding Music
A good video is incomplete without music. Animoto provides a built-in library of licensed tracks. You can also upload your own audio file if you prefer a custom soundtrack.
Make your video flow smoothly by selecting different transitions. Animoto also lets you adjust the video’s aspect ratio—landscape for YouTube, square for Facebook, or vertical for Instagram Stories.
Step 6: Previewing Your Video
Before finalizing, hit the preview button. Watch your video carefully, check if the text is readable, and ensure the music aligns with the visuals.
Once satisfied, you can export your video in HD quality. Animoto also offers multiple download options depending on your plan.
Step 8: Sharing Your Video on Social Media
Animoto makes sharing effortless. You can post directly to platforms like YouTube, Instagram, and Facebook, or download your video and upload it manually.
Animoto for Businesses vs. Personal Use
Business use: Great for marketing campaigns, ads, testimonials, and explainer videos.
Personal use: Perfect for weddings, birthdays, graduations, or travel stories.
Animoto Pricing Plans
Free plan: Limited features with Animoto branding.
Basic plan: Removes branding and offers standard features.
Professional & Teams plans: Advanced customization, HD exports, and more stock assets.
Pros and Cons of Animoto
Pros:
Easy drag-and-drop interface
Wide range of templates
Cloud-based with no installation required
Cons:
Limited customization compared to advanced editors
Premium features require a paid plan
Alternatives to Animoto
While Animoto is a solid choice, you might also explore:
Canva: Graphic design + video editing
InVideo: More advanced editing features
WeVideo: Great for collaborative projects
Conclusion
Creating professional-quality videos doesn’t have to be intimidating. With Animoto, you can design eye-catching videos in just a few steps—choose a template, upload your media, customize, add music, and share. Whether you’re a business owner or someone wanting to tell a story, Animoto helps you shine without the stress of complicated editing tools.
Frequently Asked Question
Can I use Animoto for free?
Yes, Animoto has a free plan, but videos will include their branding.
Does Animoto support 4K video?
Currently, Animoto supports HD, but not 4K exports.
Can I use Animoto on mobile?
Yes, you can access Animoto via your mobile browser and apps.
Is Animoto good for marketing videos?
Absolutely. Its templates are designed to create professional marketing content quickly.
Can I add my logo to Animoto videos?
Yes, with the professional plan, you can upload and embed your logo.